How to Submit Your App to Google Play Store and Make It Known

Submitting your app to the Google Play Store is like debuting on the world stage.
Most of the world’s mobile devices run the Android operating system. And the Play Store is the platform where billions of users can download your Android app.
But before the global market can enjoy what your Android app has to offer, you have to first submit it to Play Store. Read this article to learn the step-by-step process of uploading your app on the Google app store.
And since the Play Store has around 2 million applications, you have to learn how to make your app stand out from the crowd. This blog will also help you with that.
Let’s get to it!
The 10-Step Process of Submitting Your App to the Google Play Store
When our app developers and product strategists publish Android apps for multiple clients, they want to ensure the applications enjoy maximum visibility and accessibility while complying with Google’s rules. To hit these three goals efficiently, we’ve developed this 10-step process for submitting apps to the Play Store:
Take note that you can implement some of these steps before or during the app development process to save time and avoid any last-minute delays during the app launch.
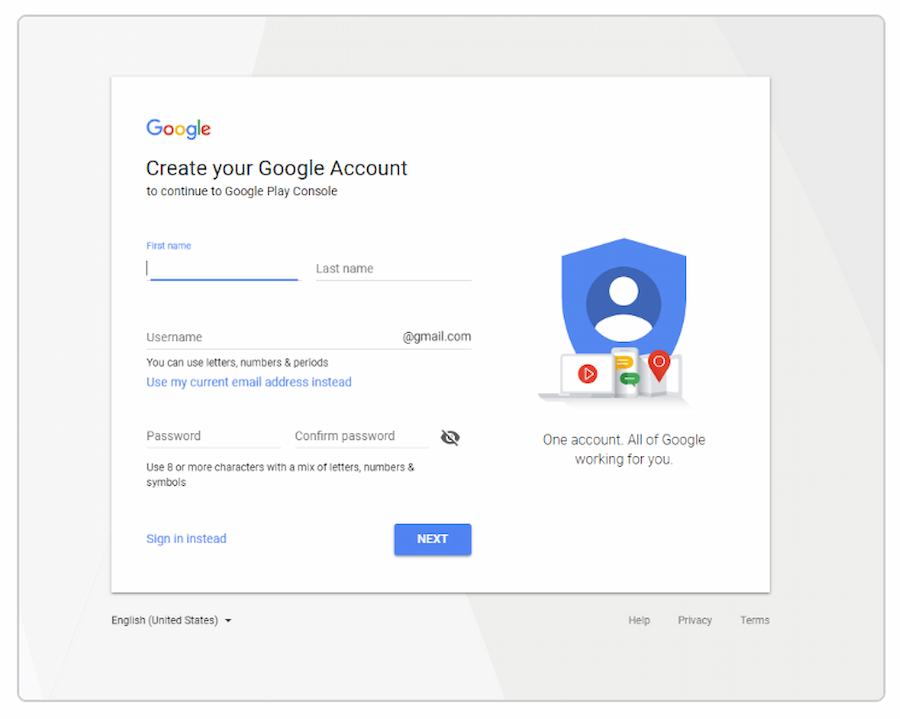
Step #1: Create a Google Developer account
Source: Jungleworks
To start, you need to create a Google Developer account. This is essential because you can’t publish your app on the Play Store without it.
You can use your existing Google account or create a new one. If needed, you can transfer your app to another account later.
To set up the account, first open Google Play Store Console (Google Console). The process is straightforward—just follow the instructions. Then, sign the Google Play Developer distribution agreement and provide some personal details.
Once you’re done with all that, you need to pay a one-time $25 registration fee. This cost of app publishing is relatively small compared to other major app stores that charge a fixed amount at regular intervals.
Approval from Google typically takes no more than two days, and you can always update your account information if you miss anything initially.
Step #2: Set up a Merchant Account
There are many ways apps can earn revenue. But if you want to sell paid apps or offer in-app purchases, you need to create a Google Merchant Account. This account lets you manage your app sales, track monthly earnings, and view sales reports.
After you create the merchant profile, it will automatically connect to your Google Play Console account.
Step #3: Get vital documents ready
Getting your app ready for the Google Play Store involves some important paperwork.
Start by preparing your app’s End User License Agreement (EULA) and Privacy Policy ahead of time.
The EULA is an agreement between you and Play Store users. It includes details about what the users can and can’t do with your app, any licensing fees, and intellectual property information.
While Google doesn’t require Terms of Use, it’s a good idea to include them. This document outlines specifically what services you provide and how you expect users to behave in return to enjoy these services. You can combine this with your Privacy Policy.
The Privacy Policy, on the other hand, should cover:
- Personal data collected and used by the app
- Technical information about the device and OS
- App features, both paid and free
- Company registration and copyright holder location
- Legal system and laws for dispute resolution
- Subscription terms
- User demographics and age criteria
For all these vital documents, you can also look at similar apps for reference or hire a lawyer to create these documents for you.
Step #4: Review Google’s developer policies
You’ve got your app idea ready, and now it’s time to ensure it follows Google’s Developer Policies. These rules tell you how to create, update, and promote your app to meet the Play Store’s quality standards. Following these policies is crucial for getting your app published.
If Google finds that your app violates any regulations, it might be rejected, blocked, or removed from the Play Store. Repeated violations can possibly terminate your developer account if you’re not careful.
So, carefully study the information on:
- Restricted content
- App store listing and promotion
- Impersonation and intellectual property
- Rules for monetization and in-app ads
- Privacy, security, and deception
- Spam and minimum functionality
Google updates its policies regularly, so it’s important to monitor any changes even after your app is launched.
Step #5: Align your app’s specifications with Play Store technical requirements
After developing your app, conducting thorough app testing, and fixing all the bugs, it’s time to submit it to the Google Play Store. Before you upload your app, make sure you have the following:
- Unique Bundle ID. Choose a package name for your app that will remain the same throughout its life. This is set in the app’s manifest file and can’t be modified after the app is distributed.
- Signed app release. Your app must be digitally signed with your developer certificate, which identifies you as the app’s author. This certificate can’t be regenerated.
- App size. Google limits the app size to 100MB for Android versions 2.3 and higher, and 50MB for lower versions. If your app is larger, you can use APK Expansion Files.
- File format. Google accepts two release formats: app bundle (.aab) and APK (.apk), with .aab being the preferred format. To use .aab, you need to enroll in Google Play’s app signing service.
For more details on technical requirements, refer to Google’s Developer Documents and the Prepare for Release guide.
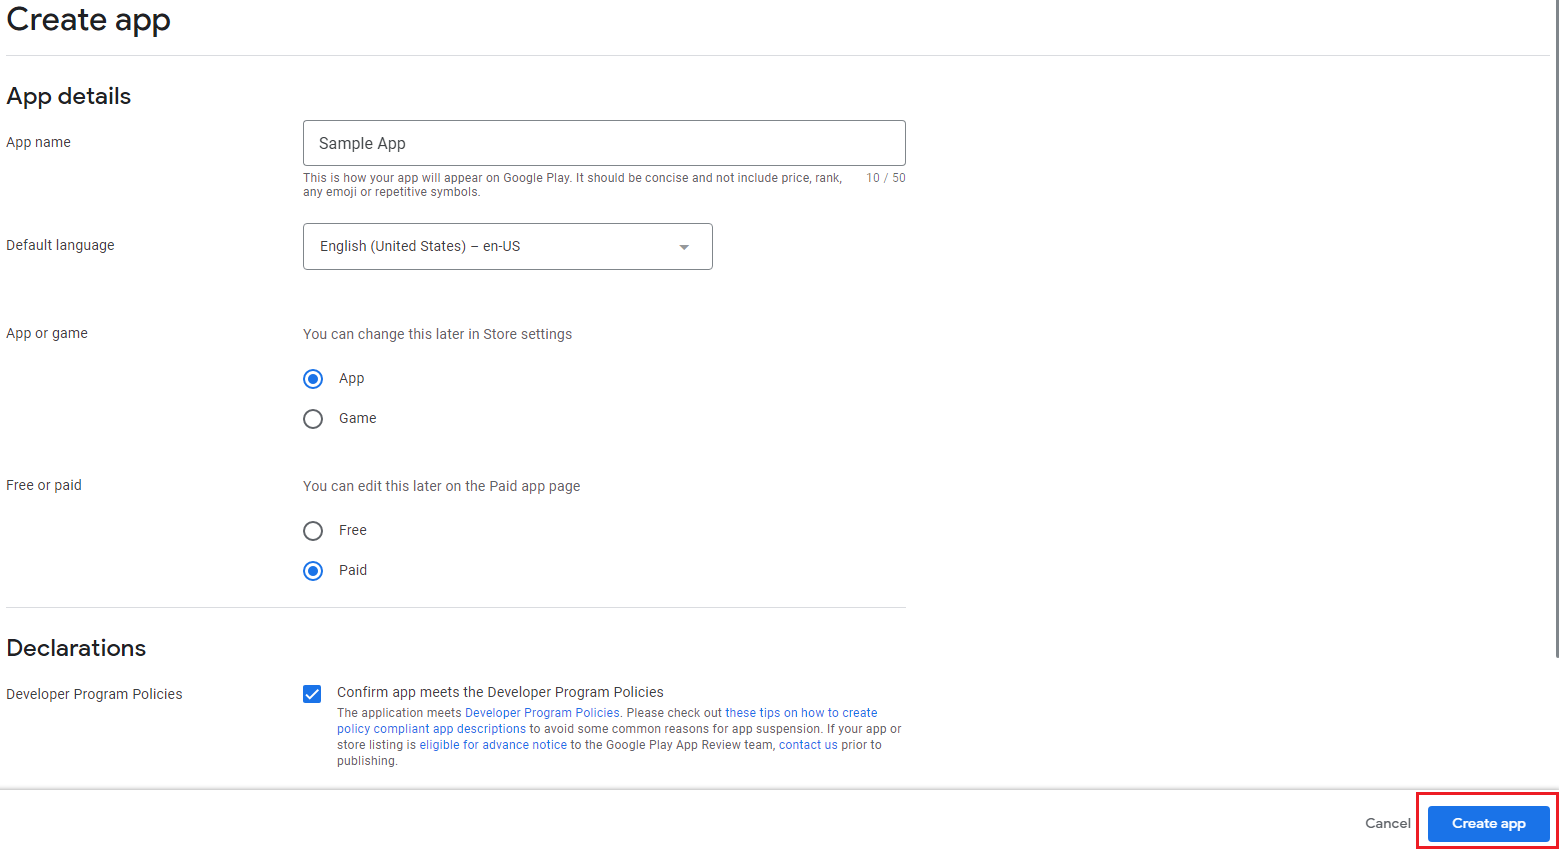
Step #6: Create your app via the Google Console
Source: Qonversion
After you’re done preparing your app file, it’s time to open your Developer Account and do the following:
- Navigate to the “All applications” tab in the menu.
- Click on “Create Application.”
- Select the default language for your app from the drop-down menu.
- Provide a concise description of your app (editable later).
- Click on “Create.”
Once done with the procedure above, provide information about your app on the store entry page.
Step #7: Supply store listing page with crucial details about your app
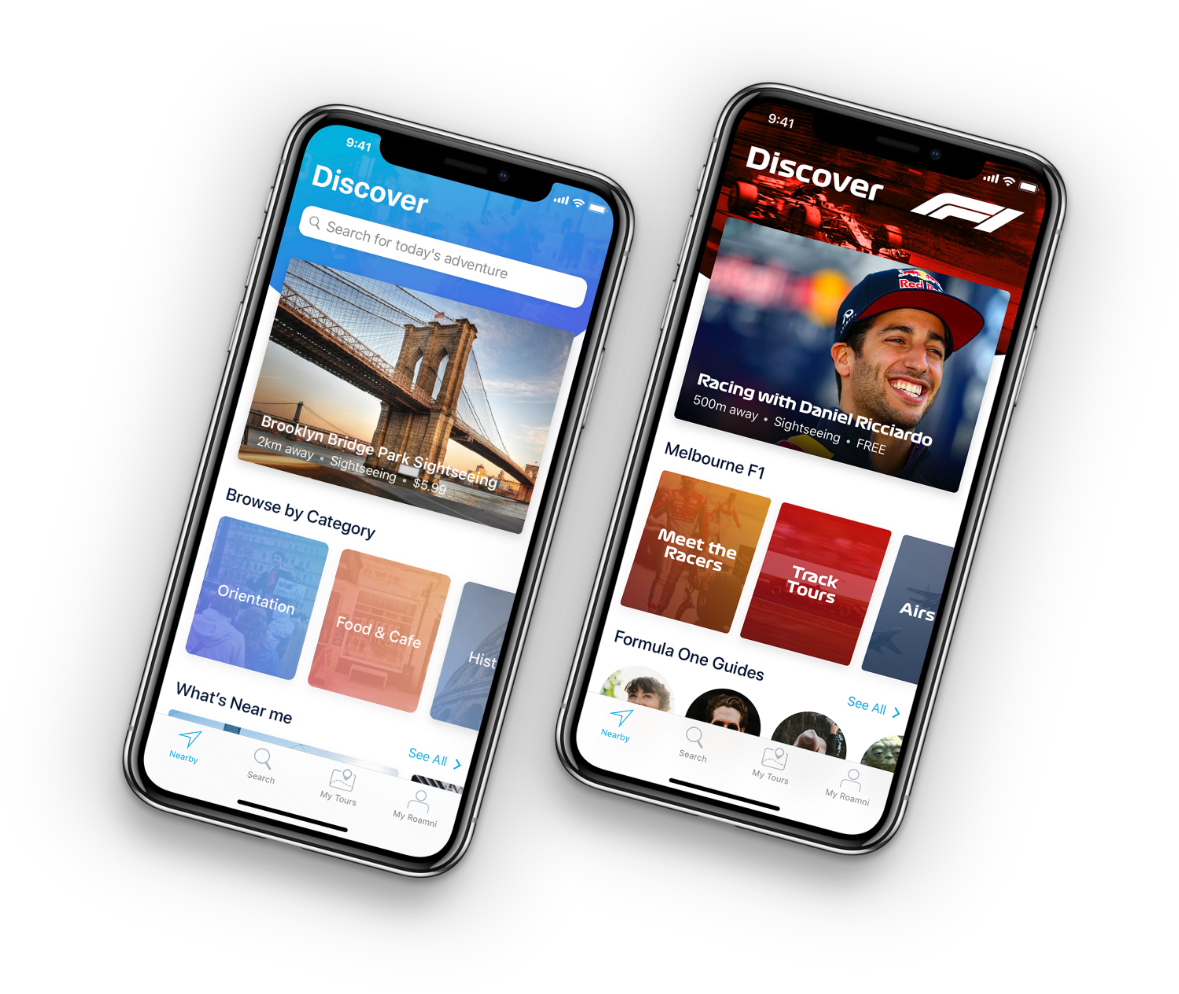
Before you can publish your app on the Google Play Store, you need to prepare your store listing first. Using the right information and keywords in the store listing page would make your app more visible on the Play Store, enlarging the potential user pool of your application.
Here are some important details you need to provide on the store listing page of Google Console:
- Product description. This includes a short title (up to 50 characters), a brief description (up to 80 characters), and a longer one (up to 4000 characters). Make sure you don’t use too many keywords, as this will negatively affect app visibility.
- Screenshots. You can add 2 to 8 screenshots showing off your app’s best features. Make sure they’re JPEG or 24-bit PNG and sized between 320px and 3840px, with a ratio of no more than 2:1.
- Icon. Your app icon should be 512px by 512px, 32-bit PNG, and no larger than 1024KB.
- Feature graphic (optional). This is a marketing image that can appear in various places in the app store. It should be JPEG or 24-bit PNG, 1024px x 500px.
- Promo video (optional). If you have a promo video, you can link it to your YouTube channel to show it before the screenshots. A well-executed video marketing strategy can contribute significantly to your app’s success.
- Tags. Choose relevant keywords from a list to improve search optimization.
- Localization. If your app is available in multiple languages, list them and provide translations for all app info. It’s also good to include screenshots of your localized app.
- Application type and categorization. Select whether your app is a game or not, then choose the category it fits into.
- Support info. Provide contact details so users can reach out if they need help.
- Privacy policy. You must include a link to your app’s Privacy Policy.
The good thing about the store listing page of Google Play Console is that if you get tired, you can save your progress and resume encoding information later.
Step #8: Rate your app
To prevent your app from being flagged as unrated (which could get your app removed), you need to fill out the “Content Rating” questionnaire. You’ll see this on the left side of the Google Console menu.
Make sure all the information you provide is correct. If you’re not truthful about what your app does, your Google Play account could be suspended, or your app could be taken down.
After you’ve filled out the questionnaire, save it, then calculate your rating. Finally, apply the rating to finish up and set your pricing and distribution plan.
Step #9: Determine how you will price and distribute your app
In the Pricing and Distribution section of Google Play Console, configure the following parameters:
- Decide if your app will be free or paid
- Choose the countries where your app will be available
- Specify if your app will work only on certain devices
- Indicate if your app’s content is not suitable for kids under 13
- Mention if your app will have ads
Regarding your app’s pricing scheme, keep in mind that you can convert your app from paid to free, but not the other way around. If you submit a free app but later want to make it a paid app, you will have to submit a new app.
It can be tricky to decide whether you should submit a free app or a paid one. But to help you decide which app is optimal for your goals, check out our resources on how free apps make money and the different app monetization models.
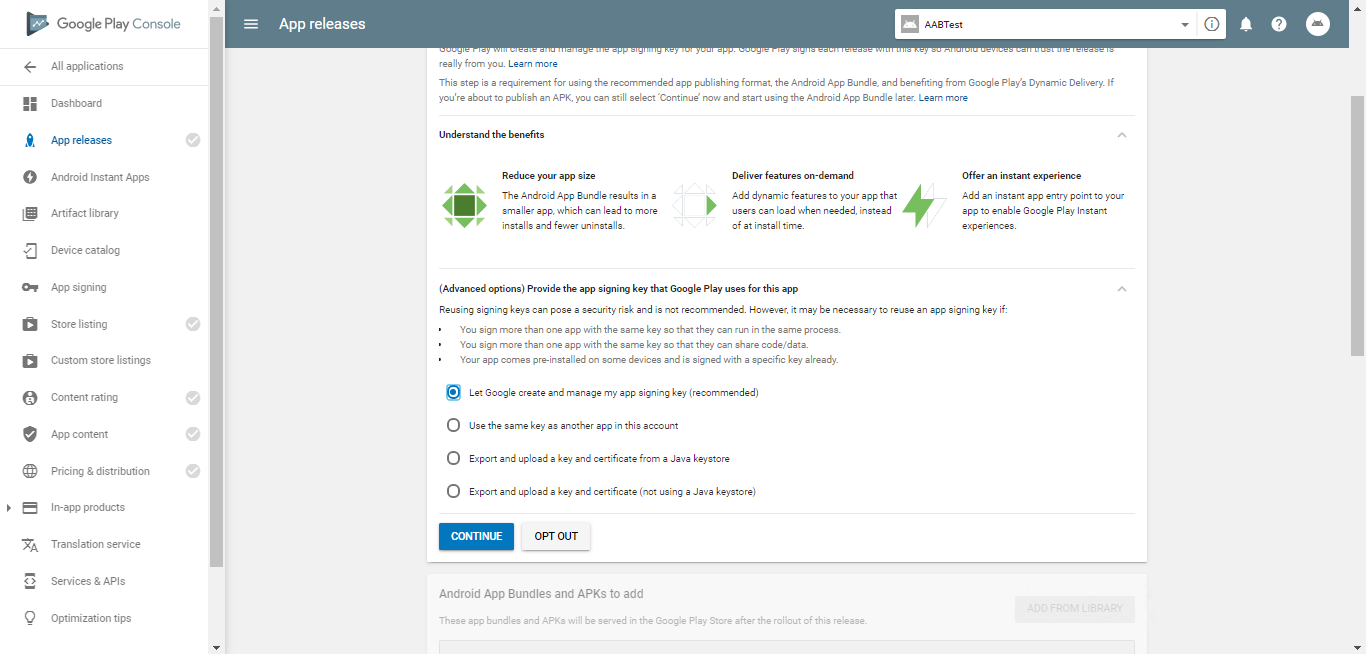
Step #10: Upload your app file and submit it for review
Source: Embarcadero
Once you’re done supplying all the necessary information and configuring the right settings, it’s time to upload your app to the Google Play Store.
First, head to the App Releases section. Here, you’ll see three options: Production, Beta, and Alpha tracks.
Starting with the Alpha or Beta versions is a good idea. With these, your app won’t be available to everyone right away.
The Alpha version is for closed testing, only accessible to those you invite as testers. Beta means anyone can join your testing program and give feedback.
Testing before releasing your app to the public is crucial. It helps you gather feedback, reach a wider audience, and fix any issues.
Remember, if you switch from Alpha or Beta to Production later, it’ll take time for another review.
Once you’ve chosen your release type, follow these steps:
- Choose Manage (Production/Beta/Alpha).
- Click on Edit Release.
- Upload your APK or app bundle.
- The release name will be added automatically. You can delete the text from the “What’s new in this release” field if it’s your first time.
- Click on the “Review” button to confirm the changes and initiate the review process for your app. Once you’ve done that, you can start the rollout to production by clicking on “Start rollout to production.”
Now when submitting an app to Google Play Store, you might feel apprehensions like forgetting crucial details. Don’t worry. Google provides step-by-step guidance throughout the process, so you won’t accidentally miss anything important.
Keep in mind that when you submit your app for the first time, you can’t manually choose when it goes live. It will be released immediately after passing the review, which typically takes about 2 days. However, Google mentions it could take up to a week or more.
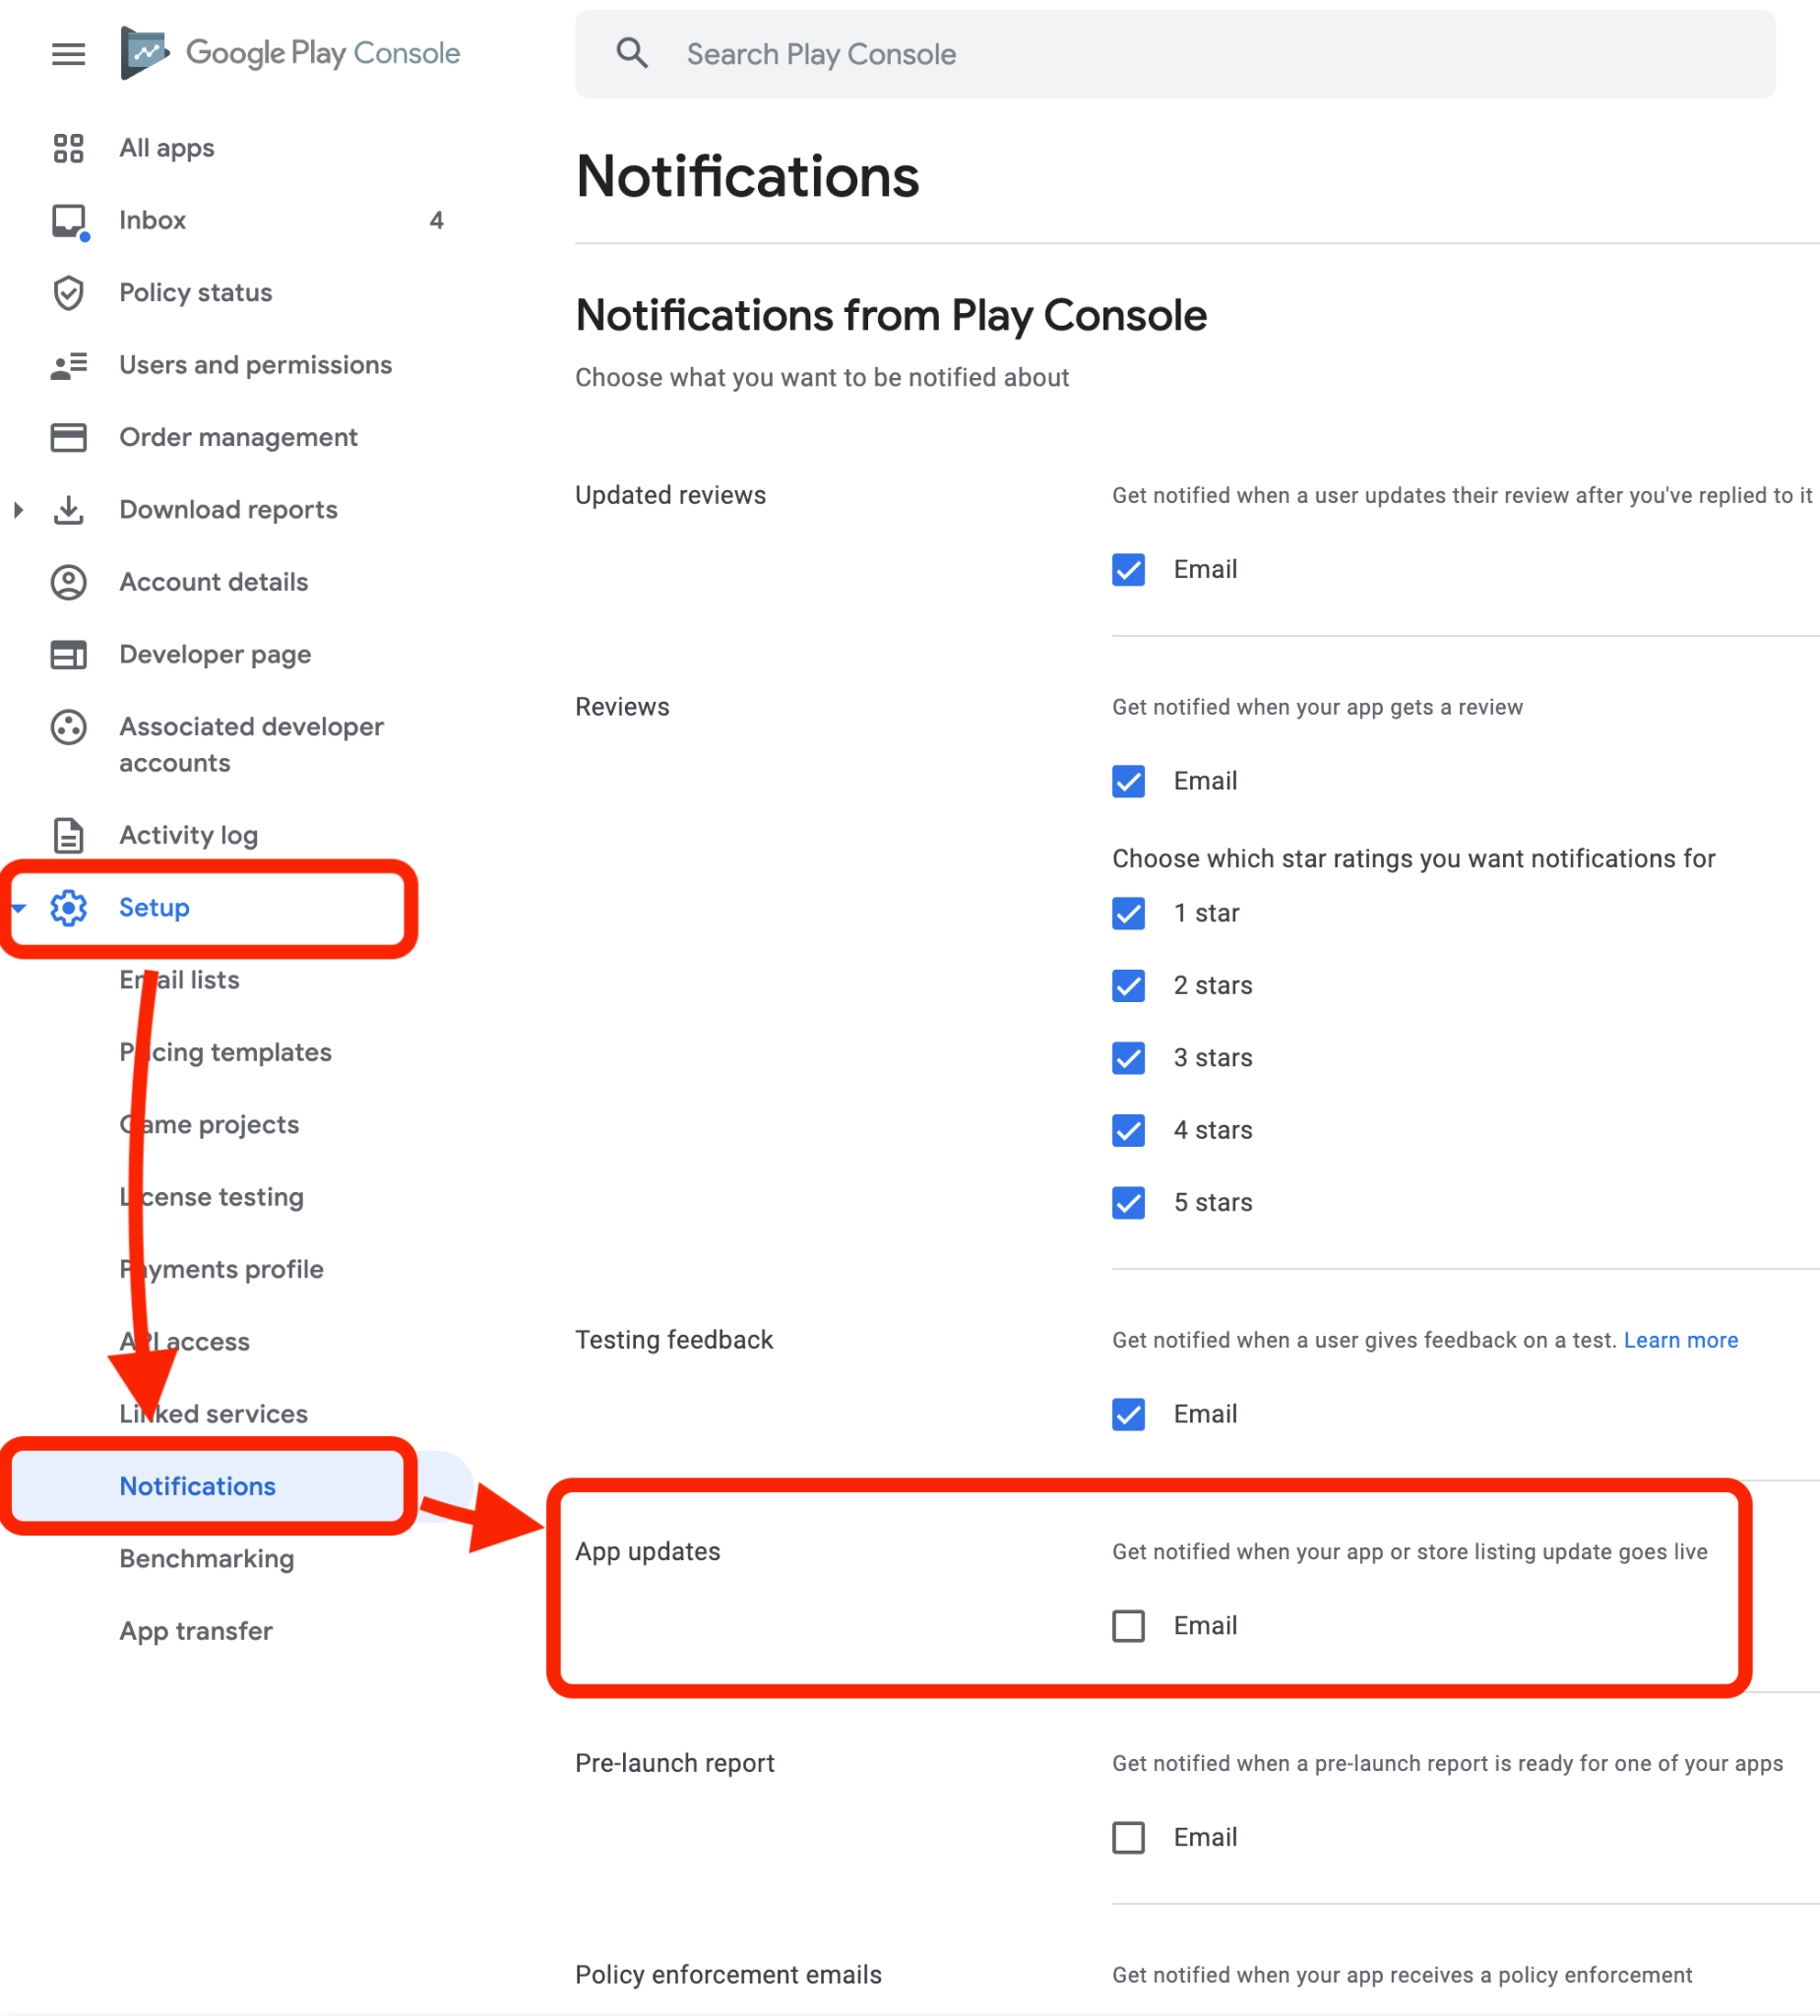
After the review, you’ll get a notification on your Google Console Dashboard.
Source: Stack Overflow
That’s all there is to it when it comes to submitting your app to Google Play Store.
But to upload is one thing, to outdo the competition is another. And since you are vying for the attention of billions of smartphone users worldwide and competing with millions of other Android applications, it is crucial that your app stands out from the rest. This is the topic of the next section of this article.
How to make your app stand out on Google Play Store
Once you’ve successfully submitted your app to the Google Play Store, the next step is to ensure it gains the attention it deserves. Here are some effective strategies to help your app stand out:
- Develop a pre- and post-launch app marketing strategy. Contrary to what many may think, there are benefits to marketing your app before and after launch. A pre-launch marketing strategy can help you better gauge the features your target users want and develop networks with various media entities so you can have a better post-launch marketing campaign.
- Leverage digital and traditional marketing channels post-launch. After launching your app, leverage virtual and on-site venues like social media and press conferences to maximize the number of people who will learn about your new Android app. Social media enables you to reach around 5 billion people worldwide within a few clicks, while press conferences tend to lend credibility to your application.
- Focus on maintenance and updates. Regularly update your app to fix bugs and add new features. Continuous app maintenance is crucial for keeping users satisfied and engaged. The more users are satisfied, the more likely your app will appear higher in search results (increased visibility).
- Practice App Store Optimization (ASO). Implement ASO techniques to enhance your app’s visibility in the Play Store. By using the right techniques when creating your app’s title, description, and other listing details, you can increase the number of users who will download your app. Check out our article on ASO to delve deeper into this topic.
Submit your app to the experts
Submitting your app to the Google Play Store and keeping it visible to many users are two sides of the same coin. You can’t do one without the other.
And the further you zoom out, you will see that ideation, design, development, submission to app stores, and post-launch app growth strategies are also interconnected. In short, building a successful app involves many moving parts.
So if something breaks down, like your app not getting the visibility and downloads it deserves after a year of submission to the Play Store, how do you find the broken component?
Well, you could troubleshoot it on your own, using tools such as mobile analytics software, etc.
Or you could save time and resources by “submitting” your broken app to us at Appetiser Apps. You can leverage our technical and business expertise to easily identify what’s preventing your Play Store app from rising to the top.
And if your app is just an idea in your head right now, you can rely on us to turn that concept into concrete results through top-notch app design and development.
Got questions on app submissions or realizing app visions? Book a free consultation with us and let’s write the next chapter of your app development story.

Jesus Carmelo Arguelles, aka Mel, is a Content Marketing Specialist by profession. Though he holds a bachelor’s degree in business administration, he also took courses in fields like computer troubleshooting and data analytics. He also has a wealth of experience in content writing, marketing, education, and customer support.